Roughly one year and one month ago, I picked up my first pair of ballet slippers at one of the local dance stores in Philadelphia and was told I needed to sew the elastics myself. Nothing more. I was clueless. I searched online and was frustrated with every article and how-to telling me how to sew pointe shoe ribbons and elastics. I eventually found this video and sewed on my elastics the best I could:
Looking back at those shoes, my elastics were sewn kind of terribly (not because the technique in the video is bad, but just because I’m horrible at sewing). I wish I had found these tips by Adult Beginner and Dave Tries Ballet to help me out when I needed it. Adult Beginner uses a single elastic, so if that’s what you’ve got, go check her’s out. The video, Dave Tries Ballet, and my tutorial below deals with criss-cross elastics that are already sewn at the back-end. I wear Sansha split sole canvas shoes (I’m looking into trying more, I just bought these because I needed new shoes and knew these would fit if I ordered them online).
Here’s what you’ll need:
Shoes
Pen or Permanent Marker
Scissors
Safety Pins
Needle and Thread (I recommend Bunhead’s Stitch Kit if you don’t already have needles and thread lying around. It’s super thick, strong thread that will make sure the elastics will stay put both on pointe shoes and ballet slippers)
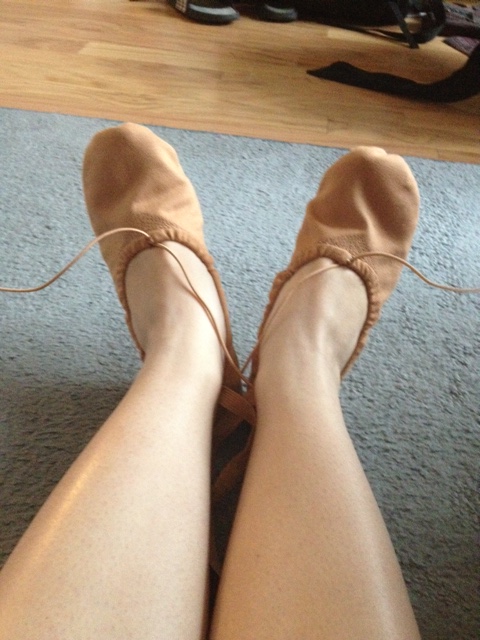
My elastics are pulled tight so that my shoes fit my feet.
Step 1. Tighten the elastic strings at the top of your ballet slipper until you get a nice fit. You don’t want them strangling your foot but you don’t want the shoes to be falling off either.
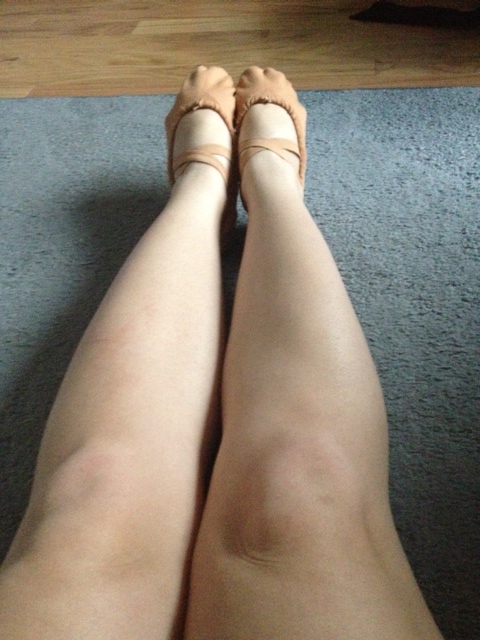
Step 2. Mark where you will sew the elastics with permanent marker at your arches by stretching them over your feet–I just sew mine to the middle seam in my slipper. Again, you want them to be holding your foot in but not too tight. I sew the elastic from the inside of the foot underneath and the one that comes in from the outside over (I’m pretty sure there’s no rules written in stone about this–I just know it’s mentioned in one of the videos I watched so that’s what I do). I then mark each slipper somewhere on the inside so I can quickly know which one is left and right without having to look super carefully at the elastic.

Step 3. Secure the elastic using a safety pin where you will sew them and try them on again, making sure that you’ve got the right fit. Point and flex your feet a couple of times.
Step 4: Cut the elastics if you need to so they fit into the shoe (I usually leave about 1/2 an inch from the very top part of the shoe so there’s enough to sew securely in). You could probably burn the elastics to make sure they don’t fray but I don’t find it necessary.
I can’t really give you any advice on doing the actual sewing part since I’m a novice at it–some people hand sew, others use a machine. Whichever method you choose, make sure you don’t sew into the elastic string that goes around the shoe by accident.
Step 5: Put your shoes on and check the elastic string for tightness again, making sure you’ve got it where you want it. Some people will leave their strings long and tie them in a bow and then tuck them in (they shouldn’t be left out so your foot doesn’t get dragged over them and/or so you don’t trip on them).Having all the loose strings shoved into my shoe drives me crazy, so I double knot mine (without tying a bow), cut them pretty short, and then burn the ends.
Step 6: Put them on, check for the correct fit (one last time!) and admire a job well done!
—
What do you wish you would’ve known before starting ballet classes?
PS If you’ve got any tips for how you attach your elastics to ballet slippers, let me know! This is still a work in progress for me!
