Guest Post: Ballet Skirt Tutorial

IMG_3825
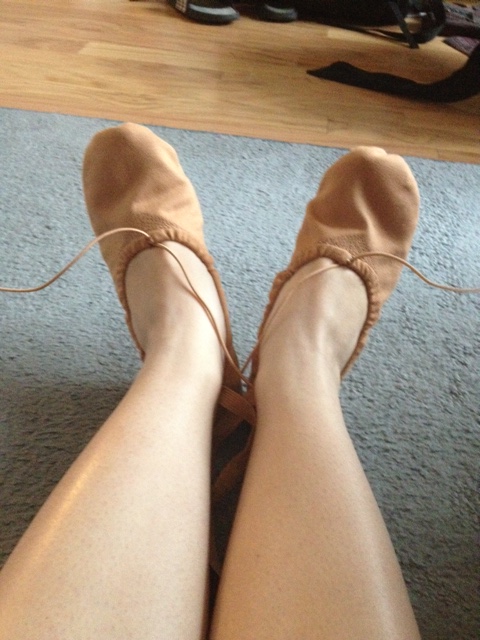
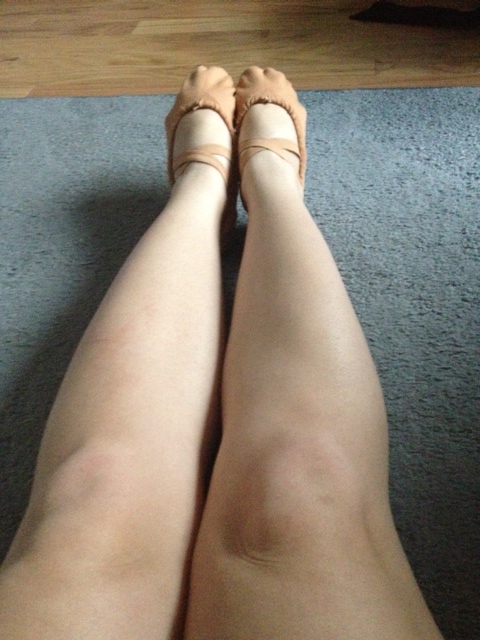
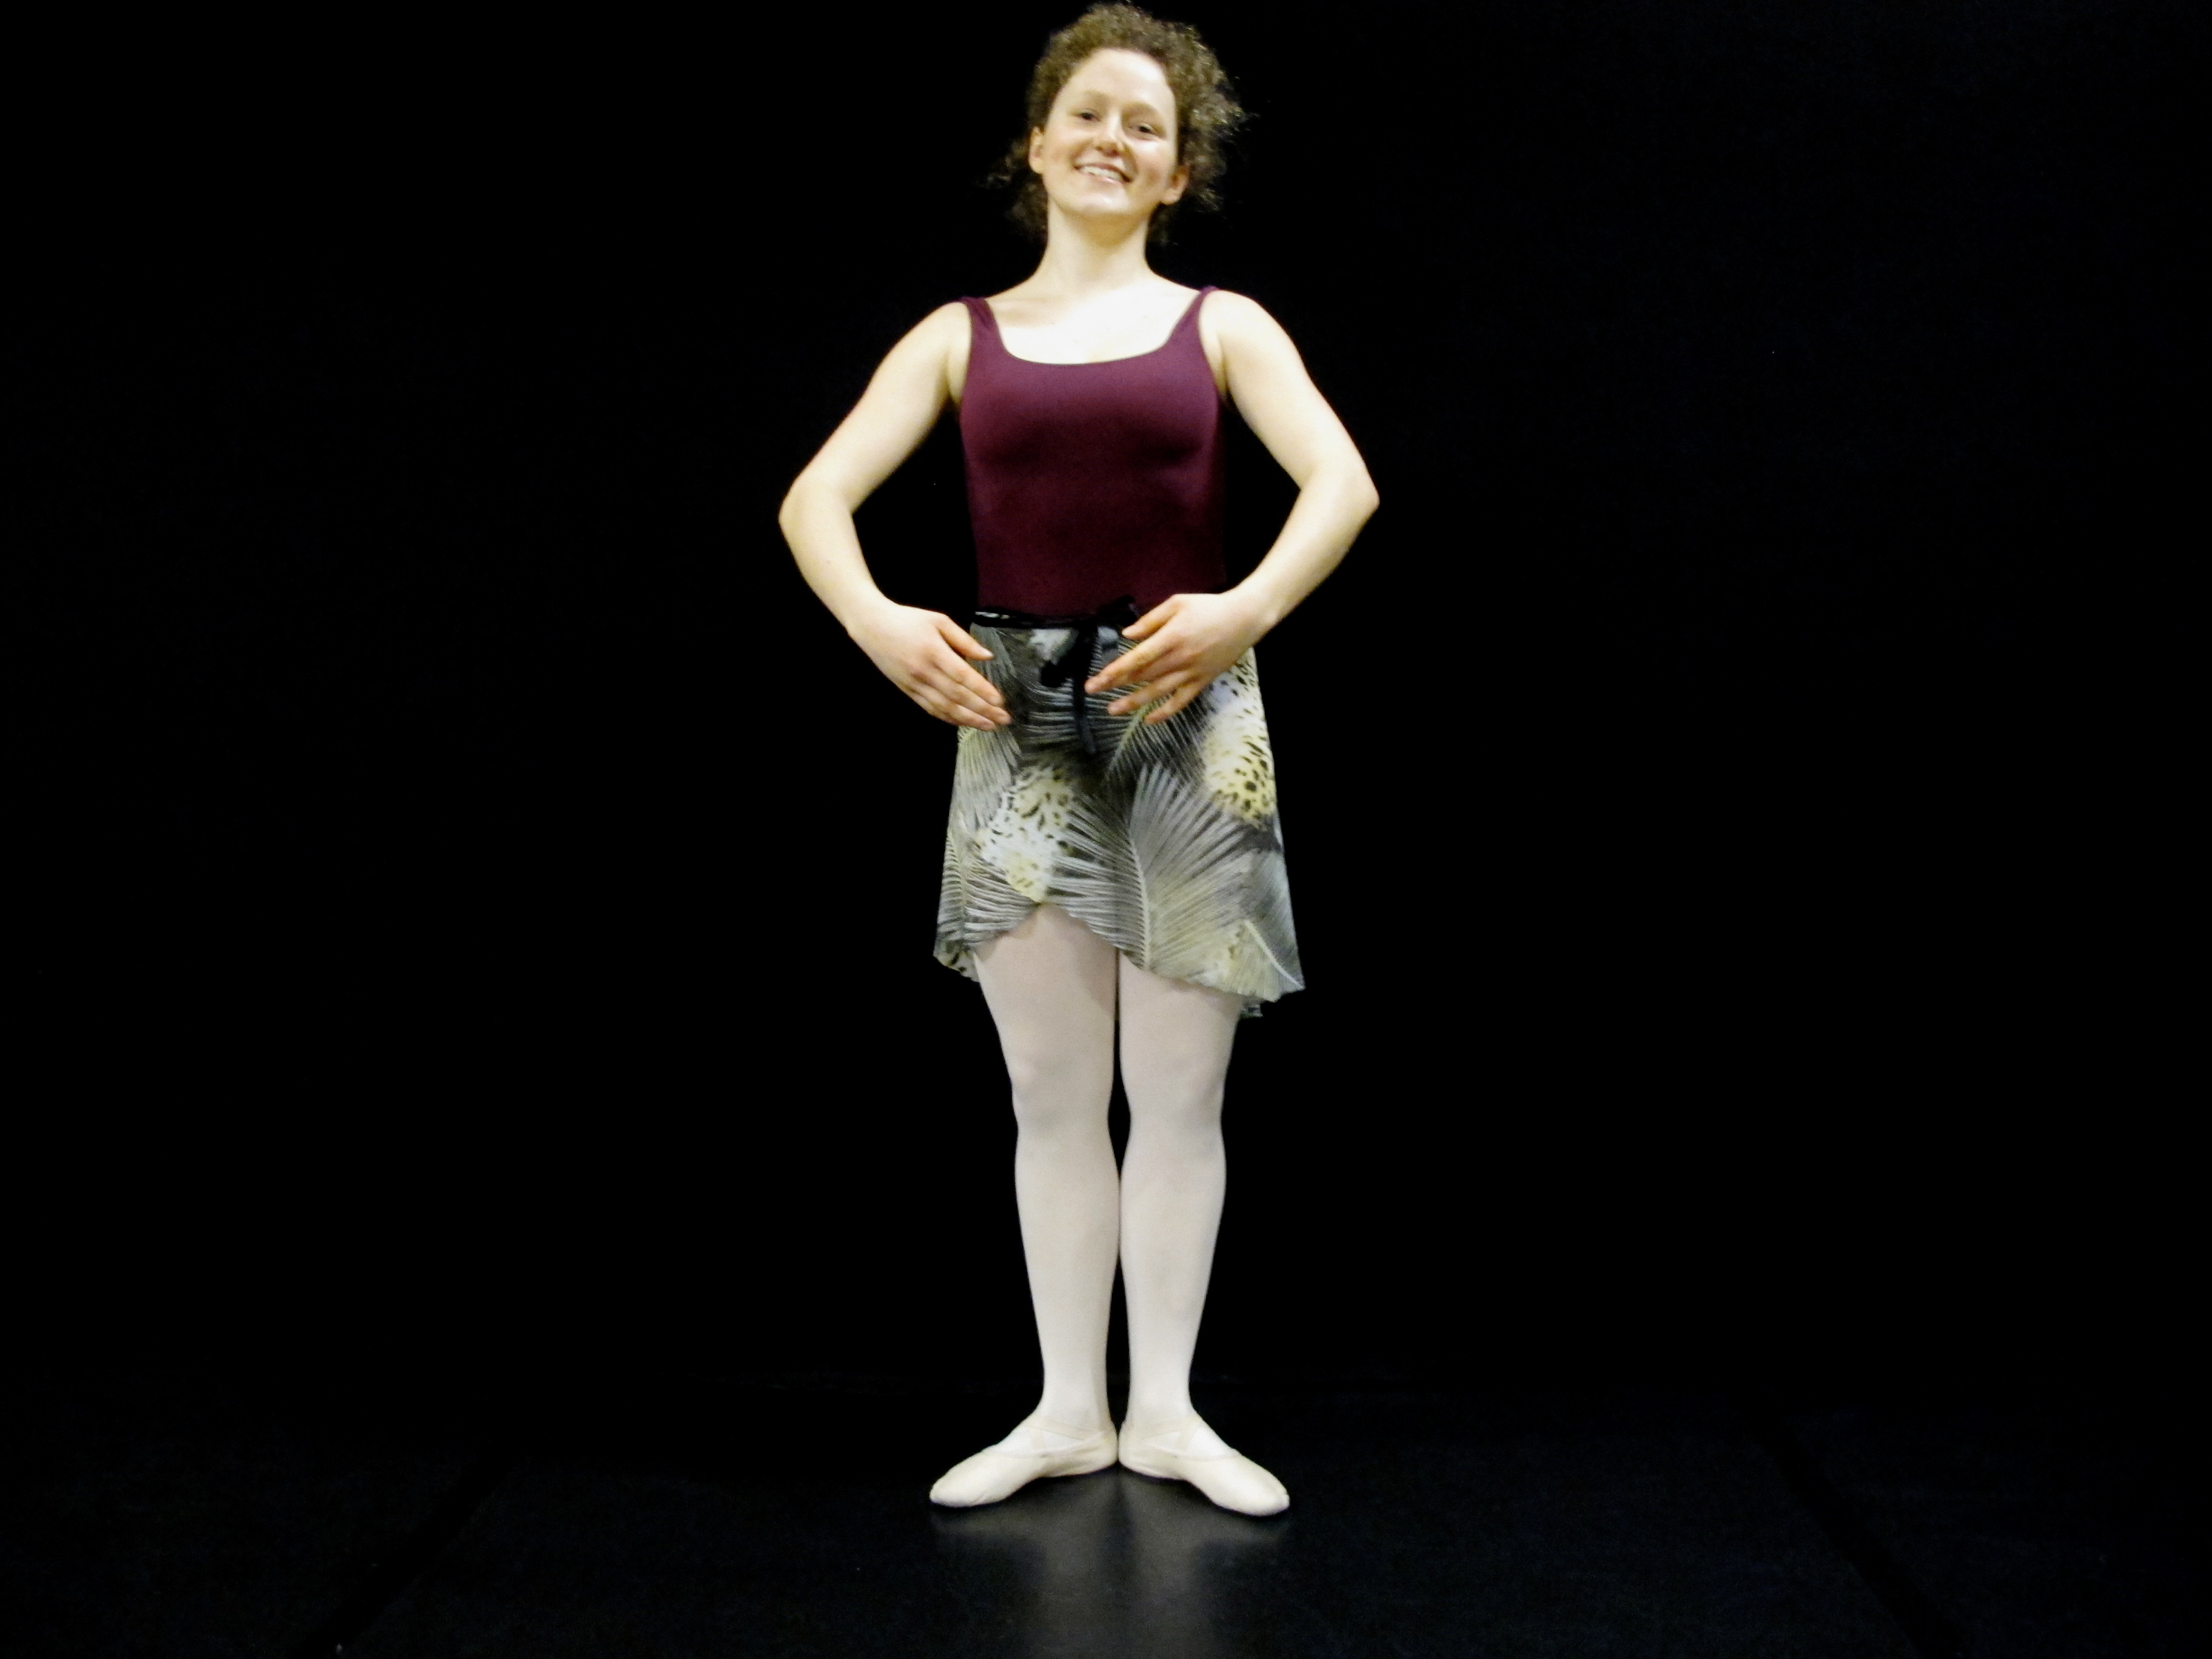
I wanted to share a ballet skirt I made, inspired by all the wonderful printed skirts I see on professional Ballerinas. This was a fairly easy project, I’m by no means an advanced seamstress, but it does involve a sewing machine. The skirt is pretty one size fits all, but you could always add, or subtract depending on your measurements or desired fit. For a bit of background, I’m a US side 6, and my model in the photos is a US 4. 

You will need:

1.25 Metres polyester chiffon (you can use silk as well, but you will need to hem it by hand)

3 Metres of 2-3cm ribbon

Thread

Scissors

Sewing Machine

Pins

Candle

1. Draft your pattern. I used an old ballet skirt to draft a rough pattern on some wrapping paper I had lying around. You can easily follow my pattern, just draw out the waist measurement and work from there. I also always draw the right side of the pattern, mark the centre line, and then fold to make the left (think of it like making a construction paper heart) to give completely symmetrical results. You can play around with the shape as well. Lengthening the back (the dotted line) will make it longer in the back, and shortening it to the same length as the front will give an even line all the way around. Also make sure to try on your pattern before cutting, that way you can make any adjustments before cutting the fabric.

2. Lay your pattern on the fabric as shown, by cutting on the diagonal (as shown) you are making it bias cut, which gives it that super great drape. Pin in the corners, bottom and top. Carefully cut around the pattern.

3. Take your ribbon and find the middle point and mark with a pin. Find the middle point of your skirt, mark with a pin. Match the two middle points, and fold the ribbon evenly over the top of the skirt and pin in place. Work in both directions, making sure that the top of the skirt is sealed in the ribbon, and pinned securely.

4. Sew along the bottom edge of the ribbon; I used a zigzag stitch, and backstitched at both edges.

5. At this point your skirt is pretty much done, but you still have that pesky bottom hem to deal with. You can painstakingly hand stitch a rolled hem, but I opted for the easy out and burned it. Because it is synthetic chiffon, it basically just melts, preventing it from fraying. I’ve heard a wood burning tool works great for this, but I don’t have one, so I just lit a candle and carefully held the edge near it, not in it, and waited for it melt before moving on to the next section. I also tested it first on a piece of scrap fabrics, because different fibres respond differently. If the burning technique doesn’t work, you could also buy some of the fray stop products available at any craft store.

So there you go, any easy Saturday afternoon adult ballet project!

Skirt Pattern

Visit Nicola’s blog here.

Projects for Knitters (or Knitters-to-be): Ballet Shorts and Knee Warmers

Having envied knitters for years, I finally motivated myself to learn by starting with small and useful projects: ballet shorts and knee (not leg) warmers. Despite admiring the look of delicate chiffon ballet skirts over leotards, I have always been a shorts person. I don’t mean long sports shorts, like basketball mesh shorts, or tight booty shorts, though. Over my leotard I wear either yoga shorts or my own hand-knit ballet shorts. My original inspiration was this lovely pair but I decided to try the pretty pointelle pattern at the leg hem another time.

After Googling variations on search terms like “knit ballet shorts” and “ballet shorts knitting pattern,” I found these basic “Studio Shorts”  — a pattern accompanied by photo of a ballerina on pointe! I downloaded the pattern, focused on the “dance” version (instead of the looser “lounge” version), collected a few needed items (same-size circular needles of 2 different lengths and yarn) and went to work. You can adjust the pattern to make the legs, ribbing and waistband as long or short as you wish. In ballet class, I found myself studying other students’ knitted shorts to see how long their legs’ ribbing was … only to quickly explain what I was doing so they would not think I was just staring at their behinds.

shortsfront

 Using medium weight acrylic yarn, I knitted these black shorts but realized that the shorts ended up a little thick and heavy. For my second pair, I am trying softer baby yarn that hopefully will yield lighter shorts. In fact, I am using heather gray just like the shorts knitted by Nicola Lynde of the most recent Beginner Ballerina Profile  Her DIY shorts pattern looks like a great item to try.

During this cold winter, I decided to make knee warmers – not full-length leg warmers. A ballet classmate gave me this idea when she wore a pair of children’s knee warmers that were short and just fit over her knee (extending a little above and below the knee).  I liked this pattern for its cute checkered texture to allow for the knee to bend easily. Using light pink baby yarn, I quickly fashioned a pair of knee warmers for class. The only drawback I found is that the checkered area in front of the knee creates excess wrinkling when I stand straight – looking a little like small kneepads.

kneewarmer

Nonetheless, they do keep my knees cozy during barre so by the time I move to the center, my knees are warmed up enough for me to take the warmers off. The first time I wore them in class, my teacher noticed them during plies at the barre and commented, “Helen, I see you have new knee warmers.” I proudly nodded and was about to tell her I knitted them myself when she said, “If you have knee issues, don’t grande plie in first. Keep it in demi.” Well, she may not have been admiring them, but at least she did not say they looked like football kneepads … and as any adult ballerina should appreciate, she was looking out for my safety.

Guest Post: Adult Ballerina Adventure: First Pointe Shoe Fitting

HMao2Being approved to go en pointe was a dream come true – clichéd but true! With a daughter en pointe, I had an idea of what to expect in a fitting, but only as an observer; I had no idea how the process would actually feel. Despite my excitement, I didn’t immediately rush to the dance store and camp outside like a concert groupie pining for the box office to open (pre-Internet) or an Apple product fanatic ready to storm the doors in order snag the latest iProduct.

Instead, I emailed Joy Ellis, owner of Footlights and fitter for my daughter and her ballet classmates for years, to see when she would available to fit me. I planned to go Footlights in the middle of a school day and workday to avoid other customers–of any age but especially young ones :). The fewer witnesses to my fitting, the better.

On the big day, Joy immediately put me at ease as we sat down and chatted about non-ballet topics like our kids, good books, and the weather. I joked that at 44, I was probably the oldest person she had ever fit for pointe shoes. Joy smiled, “No, just last week I fit a dancer in her 70’s.” Oh, well that sounded encouraging. I kept babbling nervously to procrastinate until Joy said “Okay, let’s get started.” She carefully studied both of my feet, noting their shape, size, and narrowness before selecting the first pair of pointe shoes for me to try on.

The first pair was Gaynor Mindens, which I thought were for advanced and professional dancers – but what did I know? They felt like narrow wooden boxes on my feet but: 1) I didn’t know what pointe shoes were supposed to feel like and 2) probably any pointe shoes would have felt that way to my virgin feet. I waddled to the barre and stood in first position. I knew what was coming next. “Okay, releve!” Joy said. I stared back at her but didn’t move. She gently prodded, “Come on, up, you can do it.” Bizarre scenarios crossed my mind: what if my feet broke … or I damaged the dance floor … or I fell over like Mary Katherine Gallagher (Saturday Night Live hyper-klutzy Catholic school girl from the 90’s) … or crashed into the mirror … or pulled down the barre?

Taking a deep breath, I plied and rolled up. I thought, wow — I am up high. Then whoa – getting completely over the box is difficult … and ouch — my toes hurt! Uh-oh, maybe this is not such a good idea. Maybe I can’t do this. I looked at my feet in the mirror – sadly, they looked like short stilts. Of course I was not expecting beautifully arched feet, especially as a complete neophyte in unbroken-in shoes, but my stick-like feet were a bit disappointing. Joy checked heels and asked me to describe what I felt (since I couldn’t judge how I felt — as in good or bad — since I did not know what was supposed to feel correct or not). She didn’t particularly like how the Gaynor Mindens looked on my feet and suggested other pairs. We worked through several different brands, models and sizes so she could eliminate obviously poorly fitting shoes and narrow down the selection to hone in on better fitting ones.

Joy compared pointe shoes fitting to solving a puzzle – matching different shoes to feet of various sizes and shapes. Much to my relief, each subsequent pair felt better. I was not sinking into the box, my toes were not hitting the end, and my feet felt breathable snug but not squeezed (or encased in a wooden box). After trying about 8 pairs, I found the most comfortable pair to be the Suffolk Standard Spotlight, 5 ½ N.

After purchasing the shoes, ribbon, elastics and Gellows by Pillows for Pointe toe pads, I thanked Joy profusely for her patience and expertise. Driving home merrily humming to myself, I called my daughter to share my excitement. She asked, “What kind did you get?” I told her Suffolk Standard Spotlight 5 ½ N. Silence. Then she exclaimed, “Oh no, that’s what I have, only mine are 5N. Now I want to get a different kind!” Nonetheless, this typical comment from an adolescent didn’t dampen this adult ballerina’s enthusiasm!

Ballet Shoes and Arch Supports

Thank-you so much to everyone who commented on my post last week on FOMO with words of encouragement! I didn’t make it to ballet on Thursday (I was sore and feeling sick), but eventually made it on Saturday again. I changed my schedule with my PT this morning so that I’ll hopefully be able to go Monday and Friday and hopefully avoid being super sore again and be able to get back on track and not have to miss any ballet classes because everything hurts too much.

In other good news, I seem to finally have found arch supports for my sneakers/other shoes that finally seem to not slip around everywhere. I also wore elastic arch supports to ballet, and even though my arches were killing me (like they have been since my return to ballet) during the beginning of ballet, I feel like they’re helping me to overpronate less. If they seem to continue to help, I’m looking at a couple of additional options for ballet shoe support:

MDM Adult “Intrinsic” Canvas Split-Sole Ballet Slipper

mb100_inset2These look like they have really good arch support and have great reviews, and they’re not too badly priced for an entire new set of slippers. Even though I just bought new shoes not too long ago, it wouldn’t be terrible if it helped save me some pain and bulk in my shoes from elastic arch supports


Dr. Roth Arch Band Supports

201fabsxAlthough these are about the same price as the slippers, they’re tempting because they could be worn with my current pair of slippers and pointe shoes (if I even ever wear pointe shoes again). They could even be worn around the house, in sneakers and with other shoes.


Do you have any experience with arch supports in ballet or tried one of these? Any recommendations for slippers with good arch support?


Beginner Ballet Tips: Sewing Elastic to Ballet Slippers

Roughly one year and one month ago, I picked up my first pair of ballet slippers at one of the local dance stores in Philadelphia and was told I needed to sew the elastics myself. Nothing more. I was clueless. I searched online and was frustrated with every article and how-to telling me how to sew pointe shoe ribbons and elastics. I eventually found this video and sewed on my elastics the best I could:

Looking back at those shoes, my elastics were sewn kind of terribly (not because the technique in the video is bad, but just because I’m horrible at sewing). I wish I had found these tips by Adult Beginner and Dave Tries Ballet to help me out when I needed it. Adult Beginner uses a single elastic, so if that’s what you’ve got, go check her’s out. The video, Dave Tries Ballet, and my tutorial below deals with criss-cross elastics that are already sewn at the back-end. I wear Sansha split sole canvas shoes (I’m looking into trying more, I just bought these because I needed new shoes and knew these would fit if I ordered them online).

Here’s what you’ll need:

Shoes

Pen or Permanent Marker

Scissors

Safety Pins

Needle and Thread (I recommend Bunhead’s Stitch Kit if you don’t already have needles and thread lying around. It’s super thick, strong thread that will make sure the elastics will stay put both on pointe shoes and ballet slippers)

My elastics are pulled tight so that my shoes fit my feet.

Step 1. Tighten the elastic strings at the top of your ballet slipper until you get a nice fit. You don’t want them strangling your foot but you don’t want the shoes to be falling off either.

Step 2. Mark where you will sew the elastics with permanent marker at your arches by stretching them over your feet–I just sew mine to the middle seam in my slipper. Again, you want them to be holding your foot in but not too tight. I sew the elastic from the inside of the foot underneath and the one that comes in from the outside over (I’m pretty sure there’s no rules written in stone about this–I just know it’s mentioned in one of the videos I watched so that’s what I do). I then mark each slipper somewhere on the inside so I can quickly know which one is left and right without having to look super carefully at the elastic.

Step 3. Secure the elastic using a safety pin where you will sew them and try them on again, making sure that you’ve got the right fit. Point and flex your feet a couple of times.

Step 4: Cut the elastics if you need to so they fit into the shoe (I usually leave about 1/2 an inch from the very top part of the shoe so there’s enough to sew securely in). You could probably burn the elastics to make sure they don’t fray but I don’t find it necessary.

I can’t really give you any advice on doing the actual sewing part since I’m a novice at it–some people hand sew, others use a machine. Whichever method you choose, make sure you don’t sew into the elastic string that goes around the shoe by accident.

Step 5: Put your shoes on and check the elastic string for tightness again, making sure you’ve got it where you want it. Some people will leave their strings long and tie them in a bow and then tuck them in (they shouldn’t be left out so your foot doesn’t get dragged over them and/or so you don’t trip on them).Having all the loose strings shoved into my shoe drives me crazy, so I double knot mine (without tying a bow), cut them pretty short, and then burn the ends.

Step 6: Put them on, check for the correct fit (one last time!) and admire a job well done!

What do you wish you would’ve known before starting ballet classes?

PS If you’ve got any tips for how you attach your elastics to ballet slippers, let me know! This is still a work in progress for me!