(Editor’s Note: These are notes from an adult ballerina’s experiences and the article was not written by a trained Physical Therapist. Please see a doctor before starting a new training regimen, and don’t push yourself beyond your limits! Read our disclaimer.) All photos by Helen Mao except #10.
Two months after surgery for Morton’s Neuroma, I recovered well enough to move around fairly normally; I could even walk one mile for exercise. However, my left foot wasn’t strong and had little flexibility. I couldn’t curl my toes without using my hands to bend them! In order to help the last part of recovery, my podiatrist sent me to physical therapy.
I didn’t know what to expect but was delighted that many of the physical therapy exercises were ones that I had done in the past for ballet and pointe. Of course I needed to keep attending physical therapy sessions to make me DO the exercises consistently. Nonetheless, I found that the following physical therapy exercises designed to rehabilitate my foot also helped prepare me for returning to ballet class.
Exercises 1-5 are done seated in a chair.
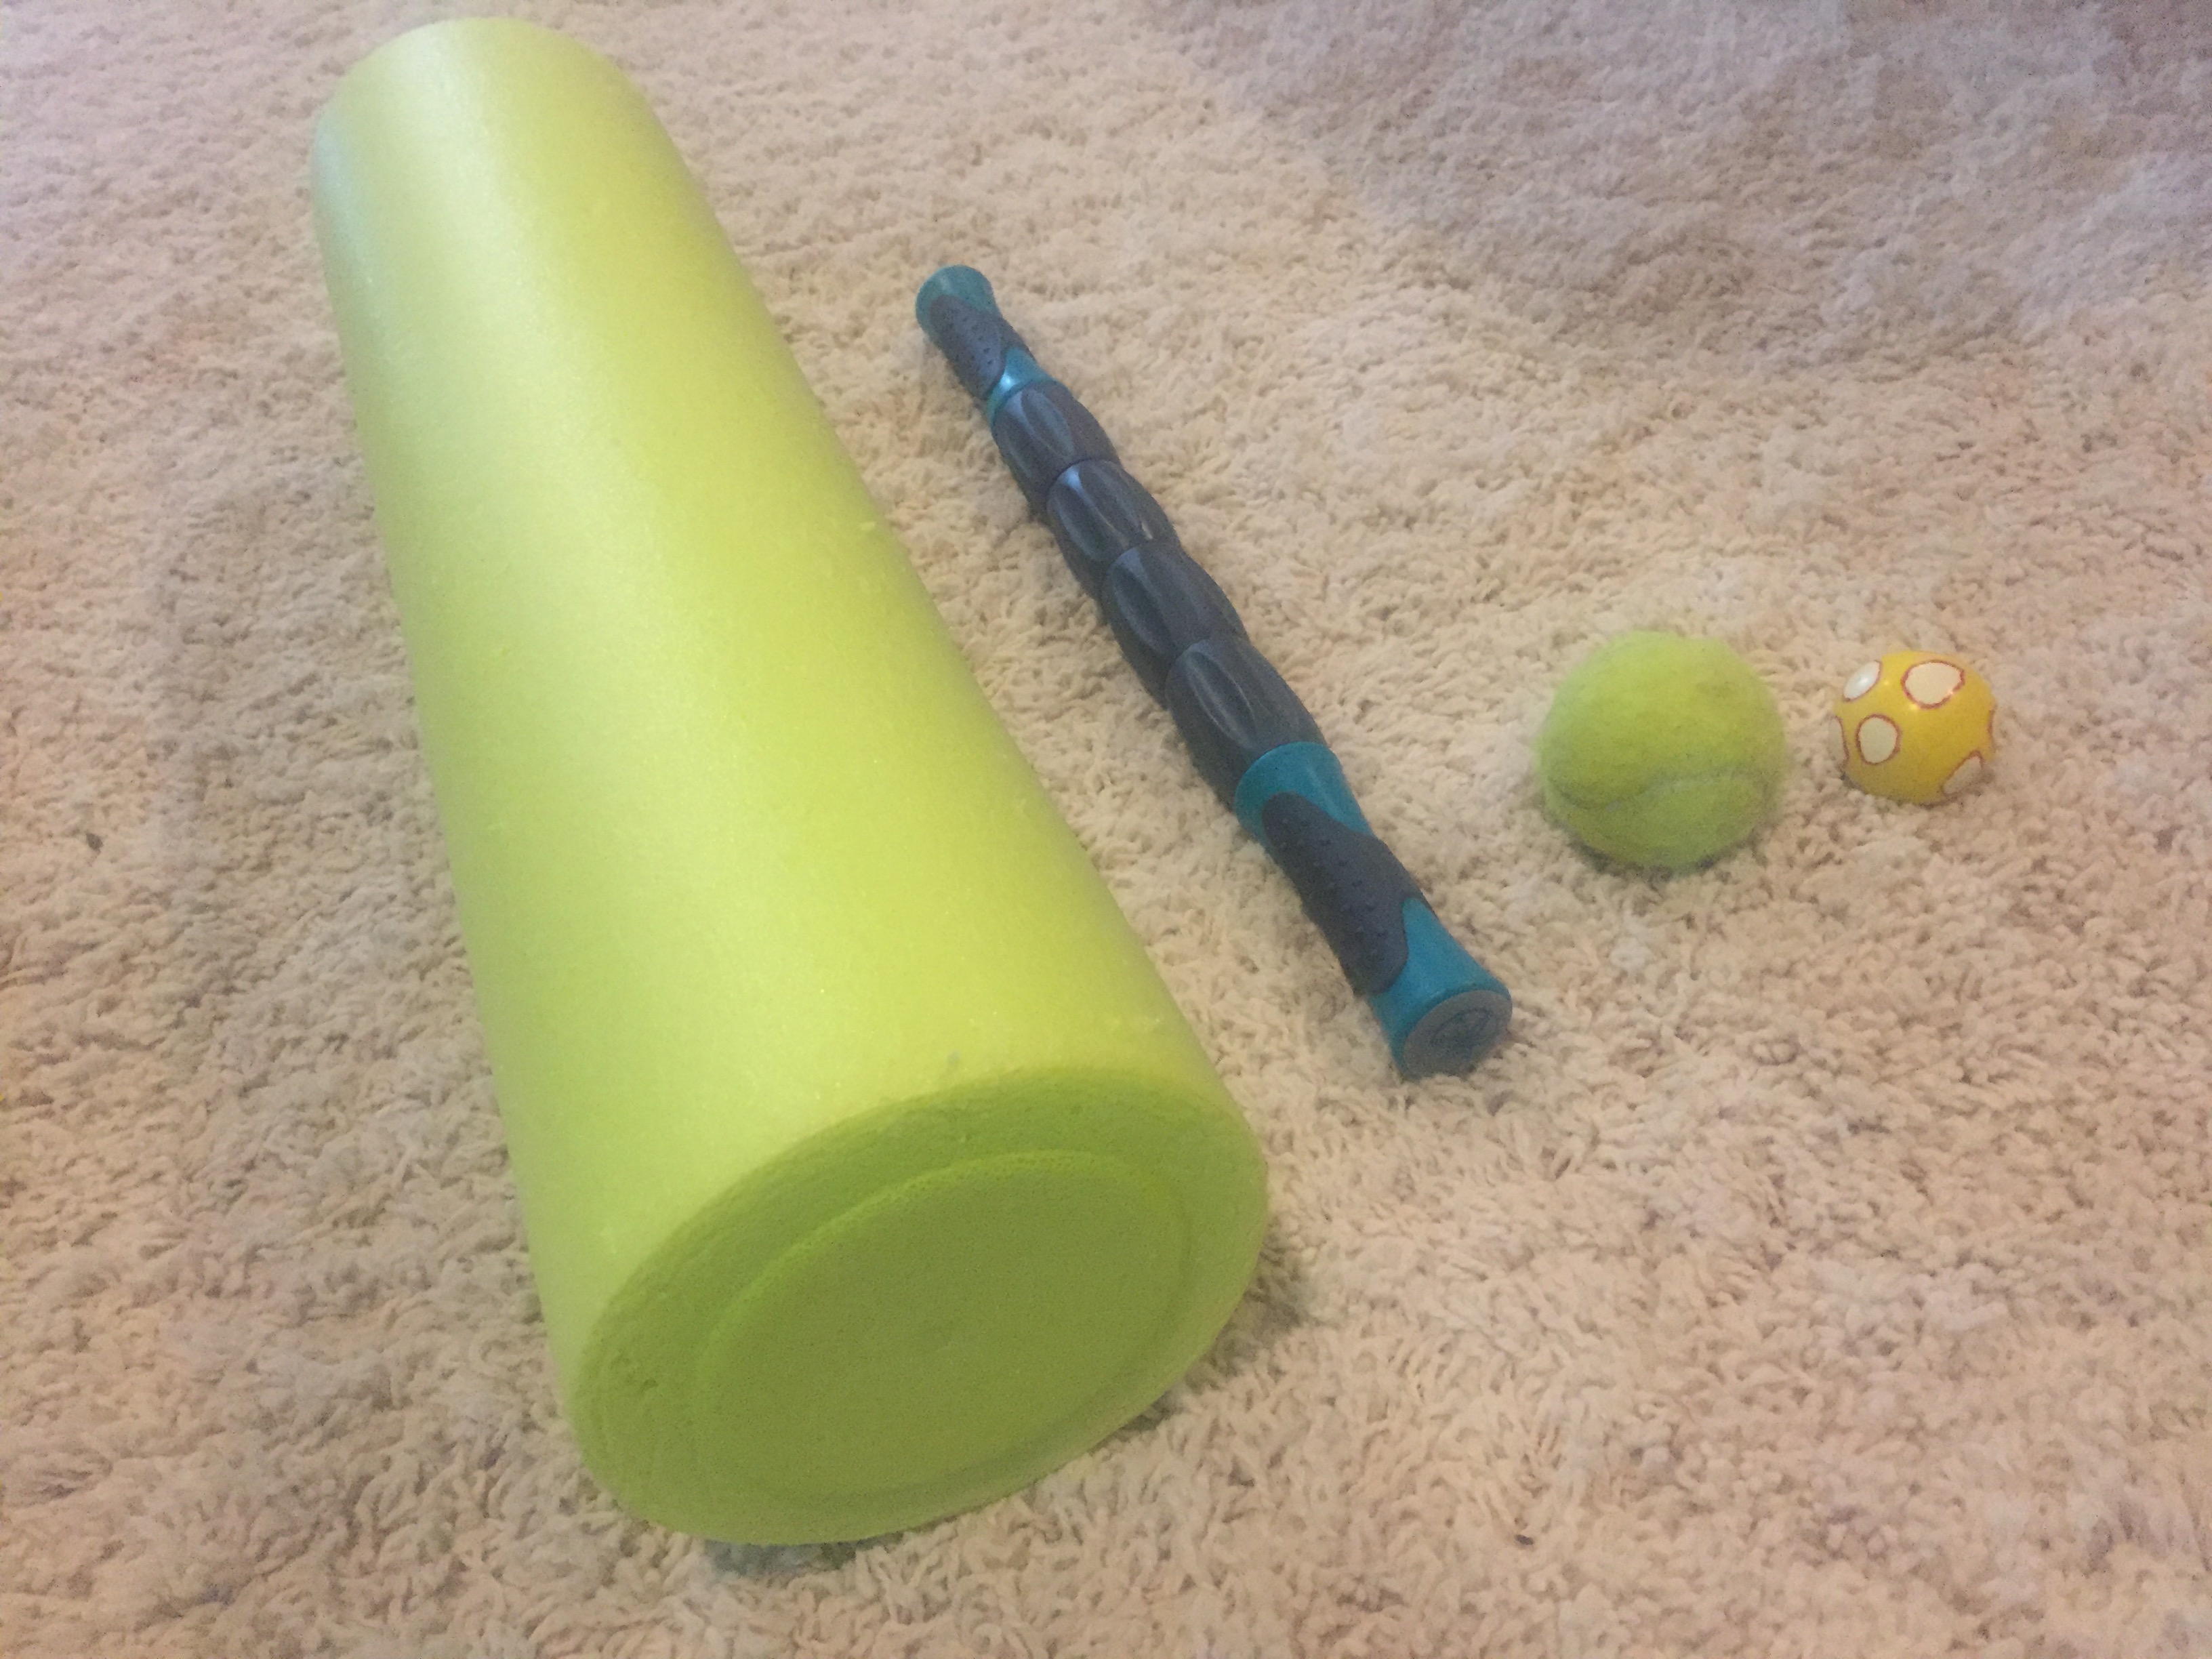
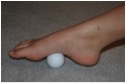
- Golf Ball Rolls: Warm/loosen up your foot by rolling it forwards and backwards over a golf ball. Although the small hard golf ball helped me for physical therapy purposes, I’ve seen many dancers use a tennis ball before and after class to massage their feet.
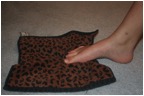
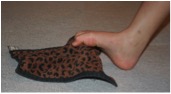
- Towel Curls: Place a towel flat on the floor. Starting on the closest end, curl your toes to pick up the towel. Lift the towel slightly off the floor and pull the towel a little toward yourself. After putting it back on the floor, place your toes a little further away on the towel and repeat until you reach the other end of the towel.
- Marble Pick-up: Pour a cup or bowl of marbles on the floor but keep them in one place.Using your toes, pick up the marbles one by one and place them back in the cup or bowl. I vary the toes I use to pick up the marbles (big, middle, smaller ones) in order to strengthen all toes.

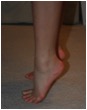
- Ankle alphabet: Pretend your big toe is a pen or that you are holding a pen between your big and second toes. Keeping your ankle still, draw the alphabet A-Z (either uppercase or lowercase) with your foot.

- Ankle Circles: Keeping your ankle still, slowly rotate your foot and ankle in a counter-clockwise direction and then in a clockwise direction. Repeat 10 times in each direction.


Exercises 6-9 are done while seated on the floor.
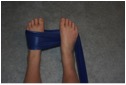
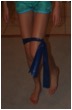
- Resisted Ankle Plantar Flexion: Loop a TheraBand around your left foot and straighten your left leg. Slowly press your foot down and up (resist popping back up!) using only your ankle. Repeat 20 times.
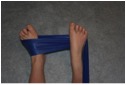
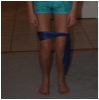
- Resisted Ankle Eversion: Straighten both legs. Loop the TheraBand around your left foot and hold the excess band with your right foot and right hand. Turn your left foot out and repeat 20 times. Switch the exercise to your right foot and repeat
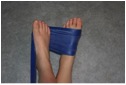
- Resisted Ankle Inversion: Cross your legs with the right leg underneath. Loop the Thera-Band around your right foot and hold the excess band with your left foot and right hand. Turn your right foot in and repeat 20 times. Switch the exercise to your left foot and repeat.
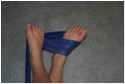
- Calf and Achilles Tendon Stretch: Loop the Theraband around your extended leg’s foot. Position the Thera-band around the ball of the foot and gently pull on the Thera-band to stretch your calf muscles and Achilles Tendon. Keep your knee straight.
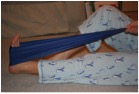
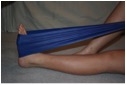
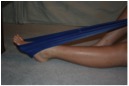
- Hamstring Stretch: Can be done using Therabands or a strap, rolled towel, bungee cord, etc. Just lie on your back and wrap whatever you’re using under or around your foot. Then, trying to keep your leg straight, pull your leg up with your arms.
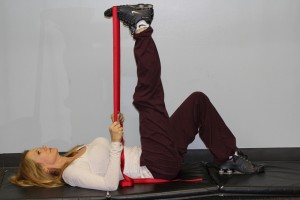
Image via Flickr user bwanderd with Creative Commons License.
Exercises 11-14 are done while standing.
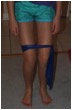
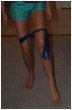
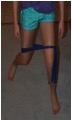
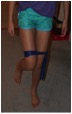
- Thera-Band Loop Side Walk: Tie the Theraband in a loop around your legs just above the knees. Walk sideways slowly by first stepping hip-width with your right foot; then bringing your left foot in next to your right foot. Keep feet pointing straight forward. Walk about 25 yards. Repeat walking sideways the other direction.
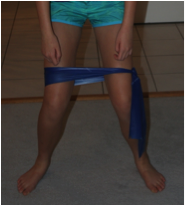
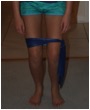
- Thera-Band Monster Walk: Use the same loop and position but this time step forward and out to the side so feet are hip distance part, alternating feet. Keep feet facing straight forward. Walk about 25 yards.


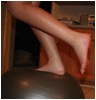
- Balancing on half ball: Stand on half ball balance trainer (i.e. a Bosu Ball), first with two feet and then with one. Balance for 1-3 minutes.
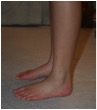
- Heel Lifts: Stand behind a chair (or anything stationary and releve on two feet 20 times. If desired, repeat exercises on one foot, and then the other.
- Cool-down roll: Finally you’ve earned the right to sit down in a chair and cool down by rolling your foot over frozen water bottle.

Of course you can look up more detailed information on these exercises and use whichever ones help you not only in ballet but also in everyday movement. Luckily, most of these exercises can be done while watching TV!