Meet Mary Fran Wiley’s hope.dance Project

sp-adBallet saved me. Dance was medicine when nothing else was working.

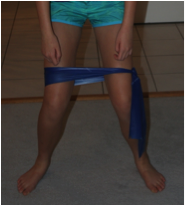
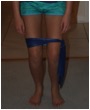
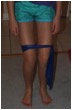
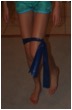
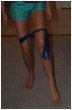
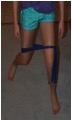
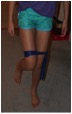
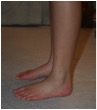
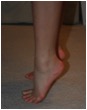
I took my first ballet class since childhood on February 16, 2015 and I haven’t stopped since. I’m quite the unlikely ballerina – I’m a bit curvy and I suffer from a rare, progressive and incurable pain disorder called Complex Regional Pain Syndrome. It causes constant, intense pain even from a gentle breeze or soft fabric. The treatments I underwent caused my left leg to feel heavier and not feel the floor.

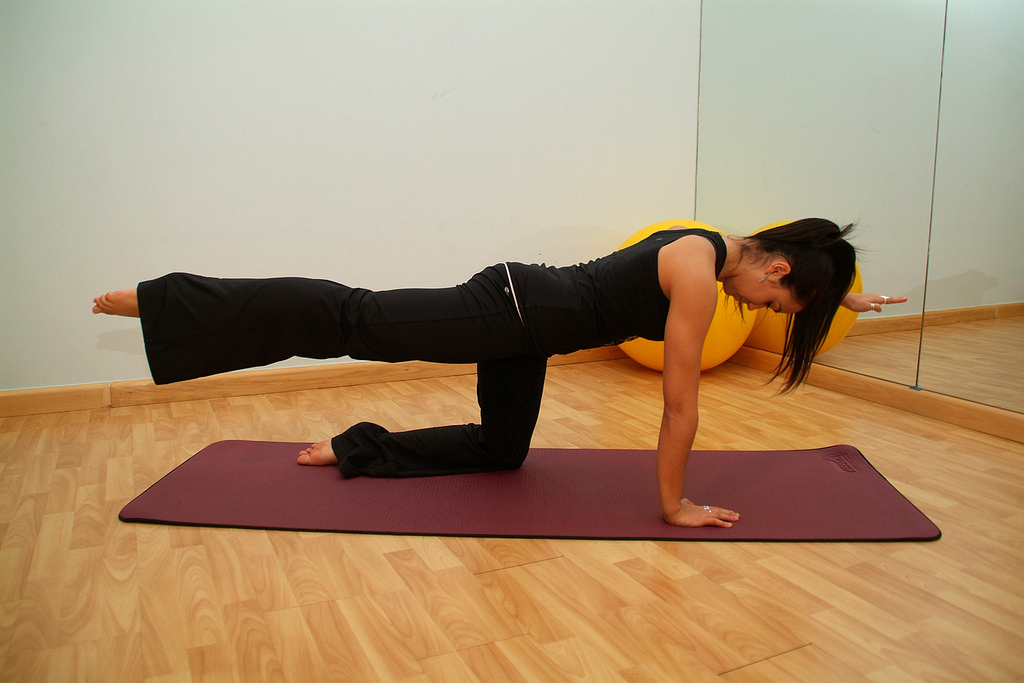
Ballet gave me the opportunity to start taking my body back. The building of the movements throughout class, the repetition of exercises on each side allowed me to relearn how to engage the muscles on the left side of my body. The stronger I got, the less secondary pain I had started to go away. I was able to walk and get through my day with more confidence.

I want to help others who suffer from pain disorders find this strength and freedom, so I am starting an organization to do just that. Hope.Dance will be focused on creating dance classes rooted in traditional dance forms like ballet and tap for pain sufferers. Using a model similar to the English National Ballet’s Parkinson’s classes, I want to create classes that are welcoming and beneficial. A place where the pain can melt away and no one feels like a burden on the rest of the class or be afraid if there are movements they can’t do.

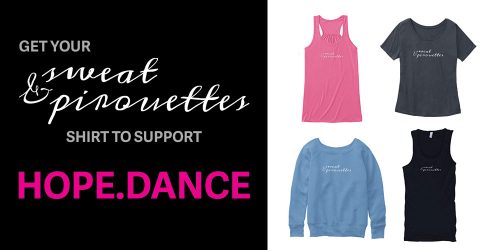
To get started and before I can start fundraising, I need to create the legal entity for the organization (legal fees, state fees). I’m selling shirts to help cover these costs and maybe even help rent a studio for my first class.  If you don’t want a shirt, I have also set up a GoFundMe page.

The goal is to sell 100 shirts. If I hit that goal, I will raffle off a custom-made ballet skirt to one of the people who either bought a shirt or shared the campaign on social media. To enter the giveaway, send your order number or a screenshot of your social media share to hello@maryfranwiley.com with the subject “Sweat and Pirouettes Raffle.”

Common Physical Therapy Exercises Applicable to Ballet

(Editor’s Note: These are notes from an adult ballerina’s experiences and the article was not written by a trained Physical Therapist. Please see a doctor before starting a new training regimen, and don’t push yourself beyond your limits! Read our disclaimer.) All photos by Helen Mao except #10. 

Two months after surgery for Morton’s Neuroma, I recovered well enough to move around fairly normally; I could even walk one mile for exercise. However, my left foot wasn’t strong and had little flexibility. I couldn’t curl my toes without using my hands to bend them! In order to help the last part of recovery, my podiatrist sent me to physical therapy.

I didn’t know what to expect but was delighted that many of the physical therapy exercises were ones that I had done in the past for ballet and pointe. Of course I needed to keep attending physical therapy sessions to make me DO the exercises consistently. Nonetheless, I found that the following physical therapy exercises designed to rehabilitate my foot also helped prepare me for returning to ballet class.

Exercises 1-5 are done seated in a chair.

  1. Golf Ball Rolls: Warm/loosen up your foot by rolling it forwards and backwards over a golf ball. Although the small hard golf ball helped me for physical therapy purposes, I’ve seen many dancers use a tennis ball before and after class to massage their feet.ex1golfball
  2. Towel Curls: Place a towel flat on the floor. Starting on the closest end, curl your toes to pick up the towel. Lift the towel slightly off the floor and pull the towel a little toward yourself. After putting it back on the floor, place your toes a little further away on the towel and repeat until you reach the other end of the towel. ex2towel1 ex2towel2
  3. Marble Pick-up: Pour a cup or bowl of marbles on the floor but keep them in one place.Using your toes, pick up the marbles one by one and place them back in the cup or bowl. I vary the toes I use to pick up the marbles (big, middle, smaller ones) in order to strengthen all toes. ex3marble
  4. Ankle alphabet: Pretend your big toe is a pen or that you are holding a pen between your big and second toes. Keeping your ankle still, draw the alphabet A-Z (either uppercase or lowercase) with your foot. ex4ankle
  5. Ankle Circles: Keeping your ankle still, slowly rotate your foot and ankle in a counter-clockwise direction and then in a clockwise direction. Repeat 10 times in each direction. ex5circle1ex5circle2ex5circle3ex5circle4ex5circle5

Exercises 6-9 are done while seated on the floor.

  1. Resisted Ankle Plantar Flexion: Loop a TheraBand around your left foot and straighten your left leg. Slowly press your foot down and up (resist popping back up!) using only your ankle. Repeat 20 times. ex6flexion1ex6flexion2
  2. Resisted Ankle Eversion: Straighten both legs. Loop the TheraBand around your left foot and hold the excess band with your right foot and right hand. Turn your left foot out and repeat 20 times. Switch the exercise to your right foot and repeatex7eversion1 ex7eversion2
  3. Resisted Ankle Inversion: Cross your legs with the right leg underneath. Loop the Thera-Band around your right foot and hold the excess band with your left foot and right hand. Turn your right foot in and repeat 20 times. Switch the exercise to your left foot and repeat.ex8inversion1 ex8inversion2
  4. Calf and Achilles Tendon Stretch: Loop the Theraband around your extended leg’s foot. Position the Thera-band around the ball of the foot and gently pull on the Thera-band to stretch your calf muscles and Achilles Tendon. Keep your knee straight. ex9calf
  5. Hamstring Stretch: Can be done using Therabands or a strap, rolled towel, bungee cord, etc. Just lie on your back and wrap whatever you’re using under or around your foot. Then, trying to keep your leg straight, pull your leg up with your arms.

    Image via Flickr user bwanderd with Creative Commons License.

    Image via Flickr user bwanderd with Creative Commons License.

Exercises 11-14 are done while standing.

  1. Thera-Band Loop Side Walk: Tie the Theraband in a loop around your legs just above the knees. Walk sideways slowly by first stepping hip-width with your right foot; then bringing your left foot in next to your right foot. Keep feet pointing straight forward. Walk about 25 yards. Repeat walking sideways the other direction.ex11side1 ex11side2 ex11side3
  2. Thera-Band Monster Walk: Use the same loop and position but this time step forward and out to the side so feet are hip distance part, alternating feet. Keep feet facing straight forward. Walk about 25 yards.ex12monster1 ex12monster2 ex12monster3ex12monster4 ex12monster5 ex12monster6ex12monster7
  3. Balancing on half ball: Stand on half ball balance trainer (i.e. a Bosu Ball), first with two feet and then with one. Balance for 1-3 minutes.ex13ball
  4. Heel Lifts: Stand behind a chair (or anything stationary and releve on two feet 20 times. If desired, repeat exercises on one foot, and then the other. ex14heel1ex14heel2
  5. Cool-down roll: Finally you’ve earned the right to sit down in a chair and cool down by rolling your foot over frozen water bottle.ex15cool

Of course you can look up more detailed information on these exercises and use whichever ones help you not only in ballet but also in everyday movement. Luckily, most of these exercises can be done while watching TV!

Breaking In Pointe Shoes By Lisa Howell

Thanks to Pointe Til You Drop for sharing this on our Facebook Page!

The Power of Pilates — Using Pilates to Strengthen Your Core for Ballet

16176097088_380a05dace_b

Cross training can sound intimidating: what about time commitment, additional expenses, or  lack of energy? However, don’t let these factors prevent you from adding a new exercises to your daily routine.

During my dance career, I experienced a plateau period when I didn’t notice advancements in my dancing. This was a frustrating time, and I struggled to find a reason why I wasn’t improving and gaining strength. I noticed my most prevalent weak area was my core, so I searched for exercises that would be most beneficial. Over time, I realized that I needed to incorporate some type of cross-training in addition to my usual ballet classes. I found my niche in Pilates, the ultimate core building series of exercises invented by Joseph Pilates. I realized that I needed a strong core, or powerhouse, to get to the next level.

Pilates is a fantastic cross training option that will improve your dancing and overall well-being. Focusing primarily on core strength, Pilates provides the perfect accompaniment to ballet’s core centered exercises. The moderately paced mat classes offer a low impact yet effective workout that will sculpt the body into a long, lean silhouette.

After completing the beginner phase of training, the workout starts with a challenging abdominal series, requiring immediate movement. Not to be mistaken for the series of prolonged yoga poses, Pilates requires swift execution of with rare, brief rest periods between exercises. The movement continues at a steady pace, including targeted leg, arm, and back work. The assortment of exercises prevents loss of interest and provides a full body workout.

Ultimately, the goal of Pilates as a cross training exercise is to enhance the lean muscle mass achieved in dancing. Also, Pilates leads to increased core strength and flexibility, as well as improved posture. For those who are searching for additional ways to improve their dancing, Pilates is a fantastic option for reaching the next level.

Image via Flickr User Migration Museum Project

5 Easy Remedies for Your Post-Class Soreness

For a ballerina, there’s no bigger pill to swallow than starting a warmup with all-over muscle soreness. You worked your buns off the day before, and today, you’re feeling the consequence. Your legs each weigh a ton, your arms are like cooked noodles and your abs are so sore that even a chuckle sends you into the fetal position.

How are you supposed to dance when your body feels like this?

Despite what you might think, muscle soreness can be a  good thing. It can be frustrating and dreadful at times, but it’s a sign that your body has been challenged and is doing the repairs it needs in order to build muscle tissue.

Of course, by stretching and working responsibly, you can prevent unnecessary damage to this tissue — but if you’re pushing for significant improvement, it’s almost impossible to totally avoid soreness altogether. Because we all experience it at some point, here’s a list of our favorite remedies for those pesky aches:

1. Water

We all know that our bodies are largely composed of water and that it’s crucial to stay hydrated especially when we’re active. Get as much of it as you can during your rest periods and you’ll decrease the amount of soreness you experience after your workouts. By drinking lots of water, you’re flushing out the buildup of lactic acid in your muscles, which is what causes soreness. Try an electrolyte-infused water to replace what your body loses in sweat, and you’ll keep your muscles lubricated for your next session.

Beyond drinking it, the next best thing for sore muscles is soaking in it. Epsom salt baths are extremely beneficial as they provide the crucial minerals magnesium and sulfate, which help to form proteins and to flush toxins such as lactic acid from the body. Try adding about two cups of Epsom salt to a warm bath (it will dissolve more quickly under running water) and soak for at least 12 minutes. Your muscles will instantly feel more relaxed when you’re weightless in the warm water.

2. Massage

It might seem counter-intuitive to squeeze and rub your muscles when they’re already throbbing, but it’s the best way to push out that lactic acid that makes you weep in pain. Aside from the tried-and-true method of manual massage, here are some really helpful tools that can do the work for you.

IMG_8488

  • Foam roller

This one’s especially great for pressing out that IT Band, the “turnout” muscle. It gets knotted up easily, and ballerinas can benefit from massaging it regularly.

  • “The Stick”

For lack of a better name, The Stick is an awesome alternative to the foam roller. It’s thinner and made of a firmer material, so it reaches smaller areas with more pressure. Also, it’s handheld, so you can do it just about anywhere you can sit down.

  • Tennis ball

If you have one of these babies laying around, try using it to get localized pressure on those tiny areas your hands can’t find. Though most people use them to massage sore arches, there are tons of ways to use them. Experiment with lying on floor with the ball underneath your back — the spaces between your shoulder blades and spine carry a lot of tension, and the tennis ball works wonders here. Depending on the kind of pressure you like, a bouncy ball or golf ball will also work.

3. Stretching

Sometimes it feels great to sit in a straddle when your inner thighs are sore and you might think that stretching is exactly what you need. This is partially true, but in general, try to stay away from static stretching when you’re sore. For the most part, muscle soreness is caused by tiny tears in your muscle fibers. By sitting in a stretch for a long period of time, you’re probably only adding to the torn tissue, and your soreness will probably only get worse. Instead, try some dynamic stretches to warm your body and bring blood flow to your muscles. A great place to start is with sun salutation or some grand pliés.

4. Nutrition

What you eat is a extremely important to how you heal. Make sure you’re getting a balanced mix of lean proteins and complex carbohydrates. Eating foods such as bananas or spinach which are high in potassium will help soothe muscle cramps and anything with vitamin E will help reduce inflammation. Nuts, for example, are a great after-class snack because they have tons of protein and vitamin E.

5. Rest

What your mother always told you is actually true. Beyond all else, rest is what your body needs most in order to recuperate, whether it’s from illness, injury, or just exhaustion. When your muscles are telling you to stop pushing them, listen. Sometimes trying to push through the pain will only create more pain, and it’s important to know when to just stop and rest. Allow yourself plenty of rest and sleep, and if after two full days of rest you still feel too sore to move, ask your doctor about how to treat the pain. If your soreness is actually a more serious injury, you should find out as soon as possible so that it can heal properly.